GUIDES
DesignSpace 101: How to Use Your Templates
Welcome — You’re in the Right Place
DesignSpace Templates were created for cyber marketers who want polished, on-brand visuals without spending hours designing from scratch.
This guide walks you through how to browse, select, and customize templates so you can create clean, professional branded assets with confidence.
💡 Pro Tip:
Rather not design yourself? Check out our Agency for full-service cyber marketing fulfillment instead.
Step 1
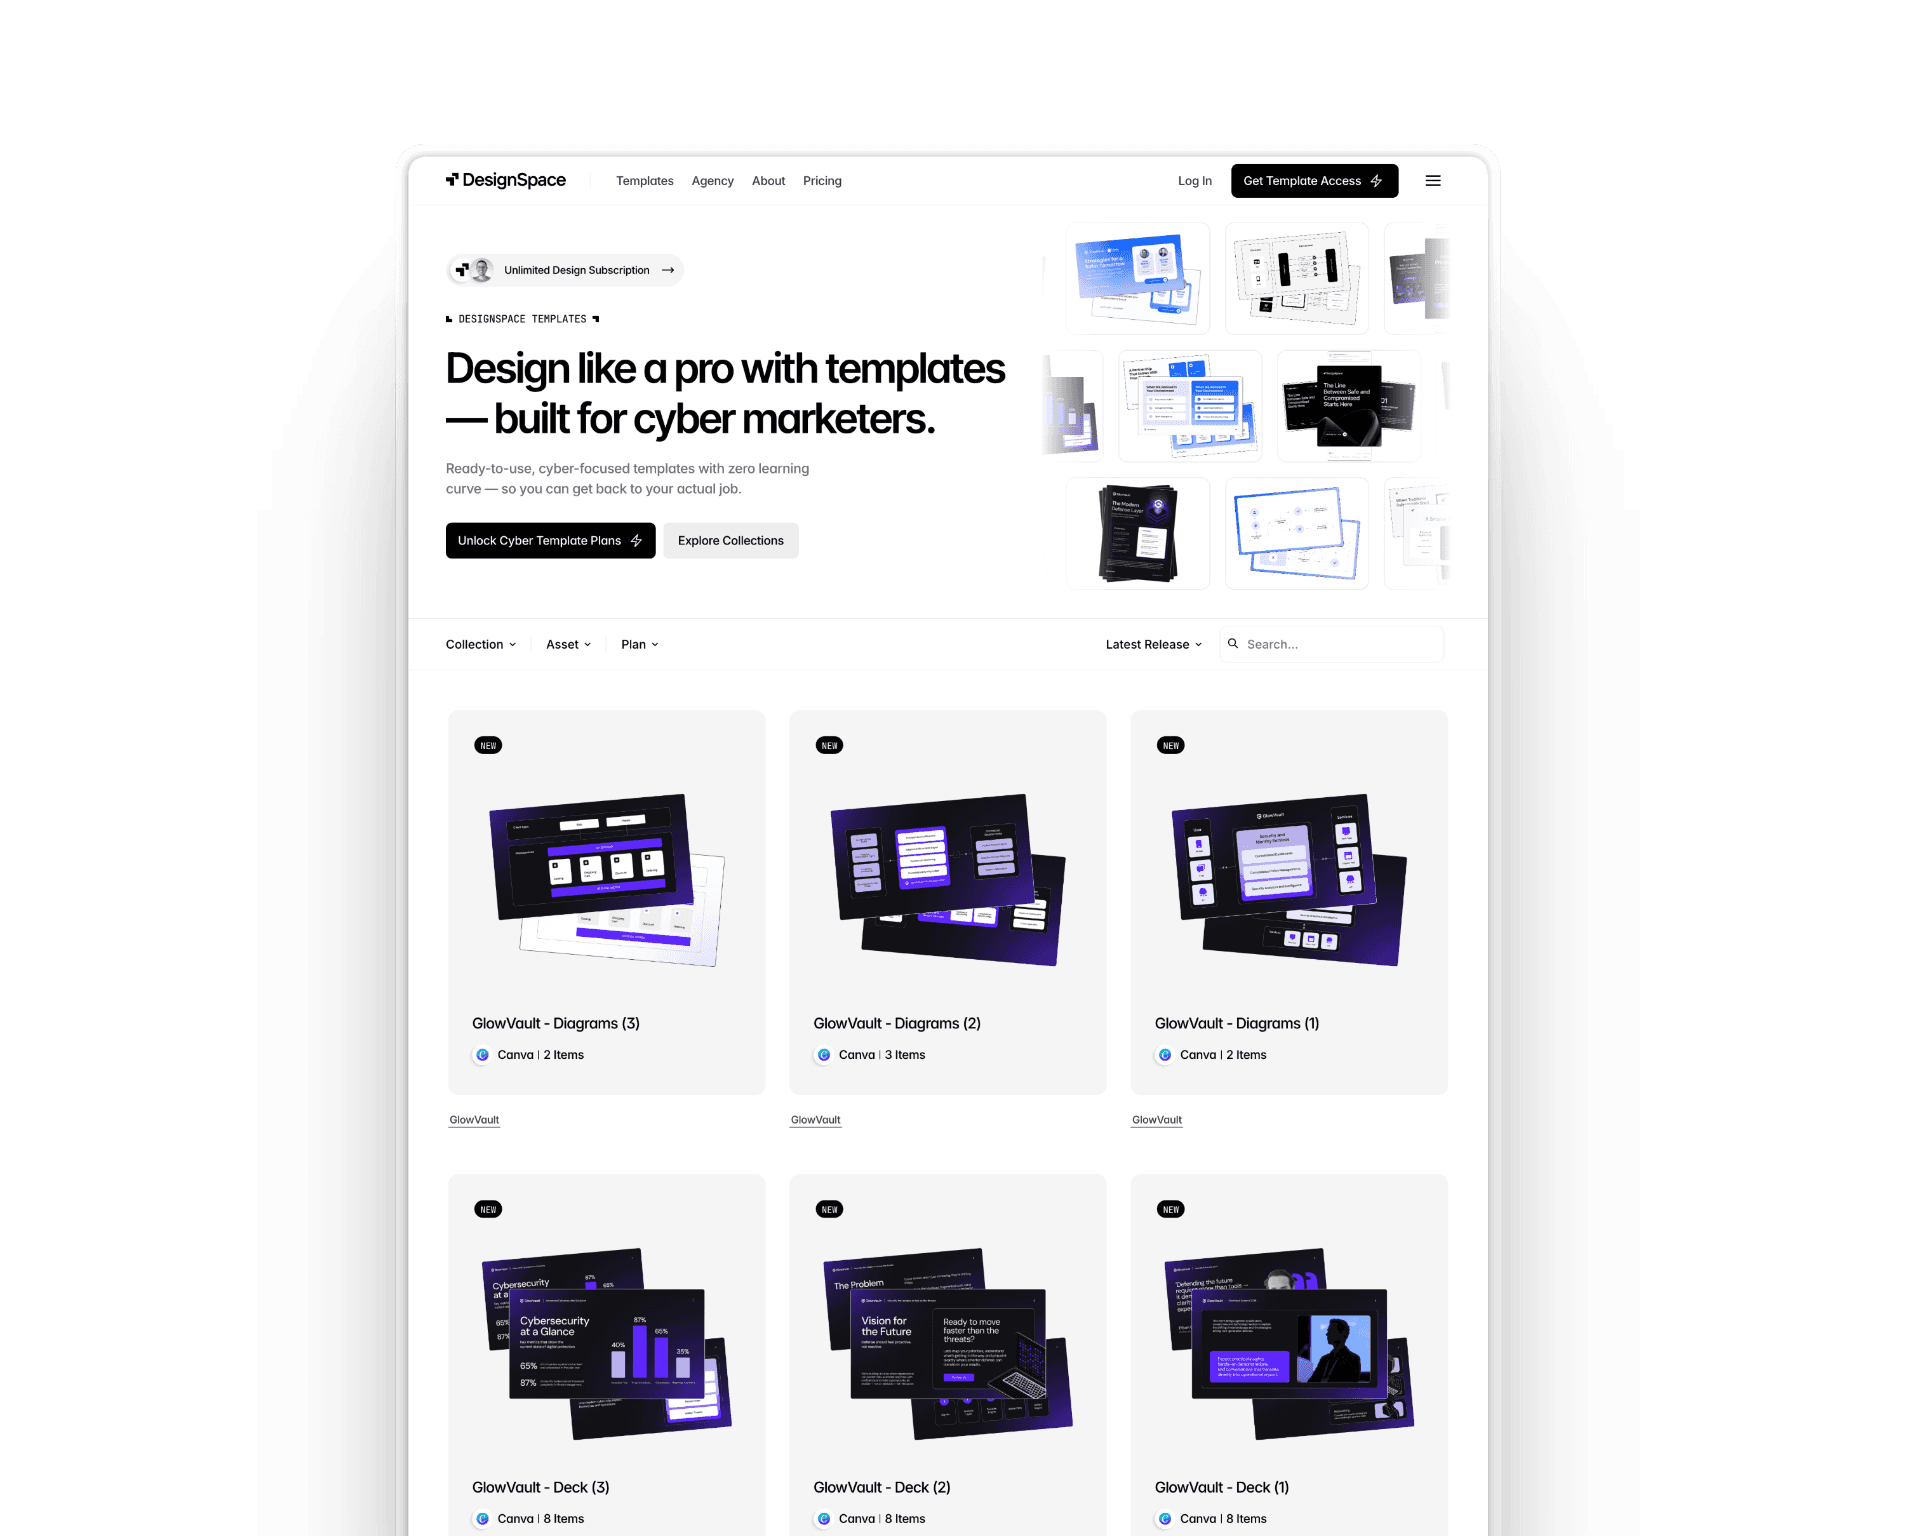
Browsing the Template Library
Explore the Full Catalog
Jump into the template library to see everything available — decks, reports, diagrams, social banners, and more.
💡 Pro Tip:
Start by browsing Collections first. It’s the easiest way to find a design style that fits your brand before diving into asset types.
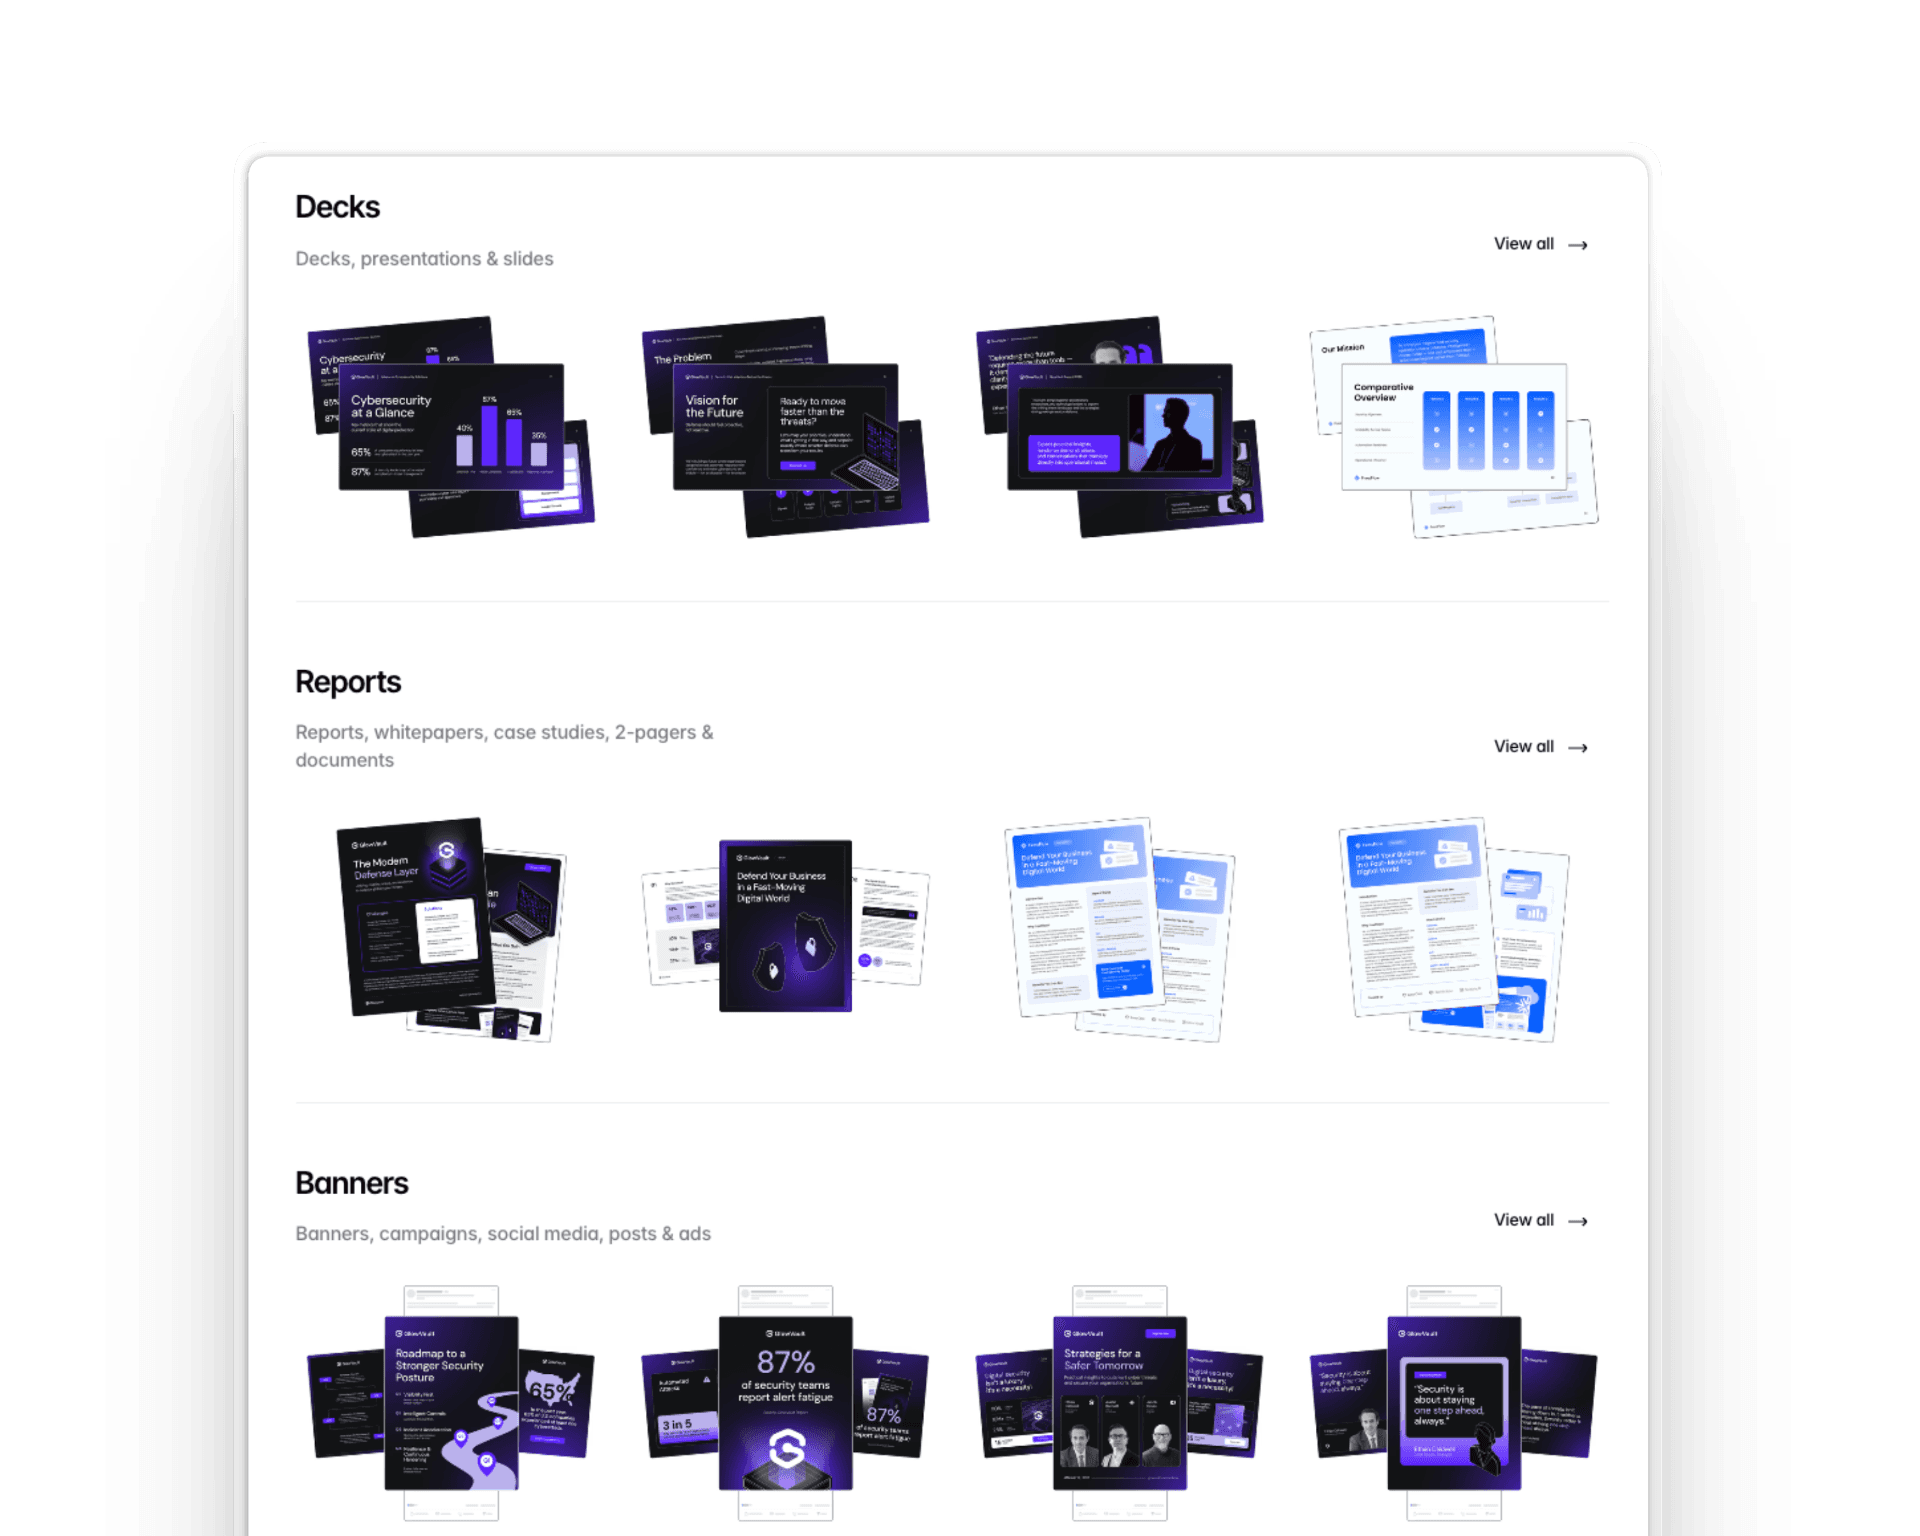
Collections vs. Asset Types
Collections = Design styles
Asset Types = The specific asset (slides, diagrams, social banner, report pages, etc.)
💡 Pro Tip:
If one template in a collection feels right for your brand, you’ll probably love the rest — they’re intentionally designed to work all together as one easy design system!
Use Filters to Find Exactly What You Need
Filter by:
Collection
Asset type
Plan level
Newest uploads

💡 Pro Tip:
The Newest filter is great when you need fresh layouts for a campaign — we upload new templates every month.
Save Templates to Your Favorites
Click the heart icon to save templates for quick access later. This feature is only available when logged in to your account.
💡 Pro Tip:
Create a “Template Kit” by favoriting templates you plan to use often. It keeps everything organized and easy to revisit.
Step 2
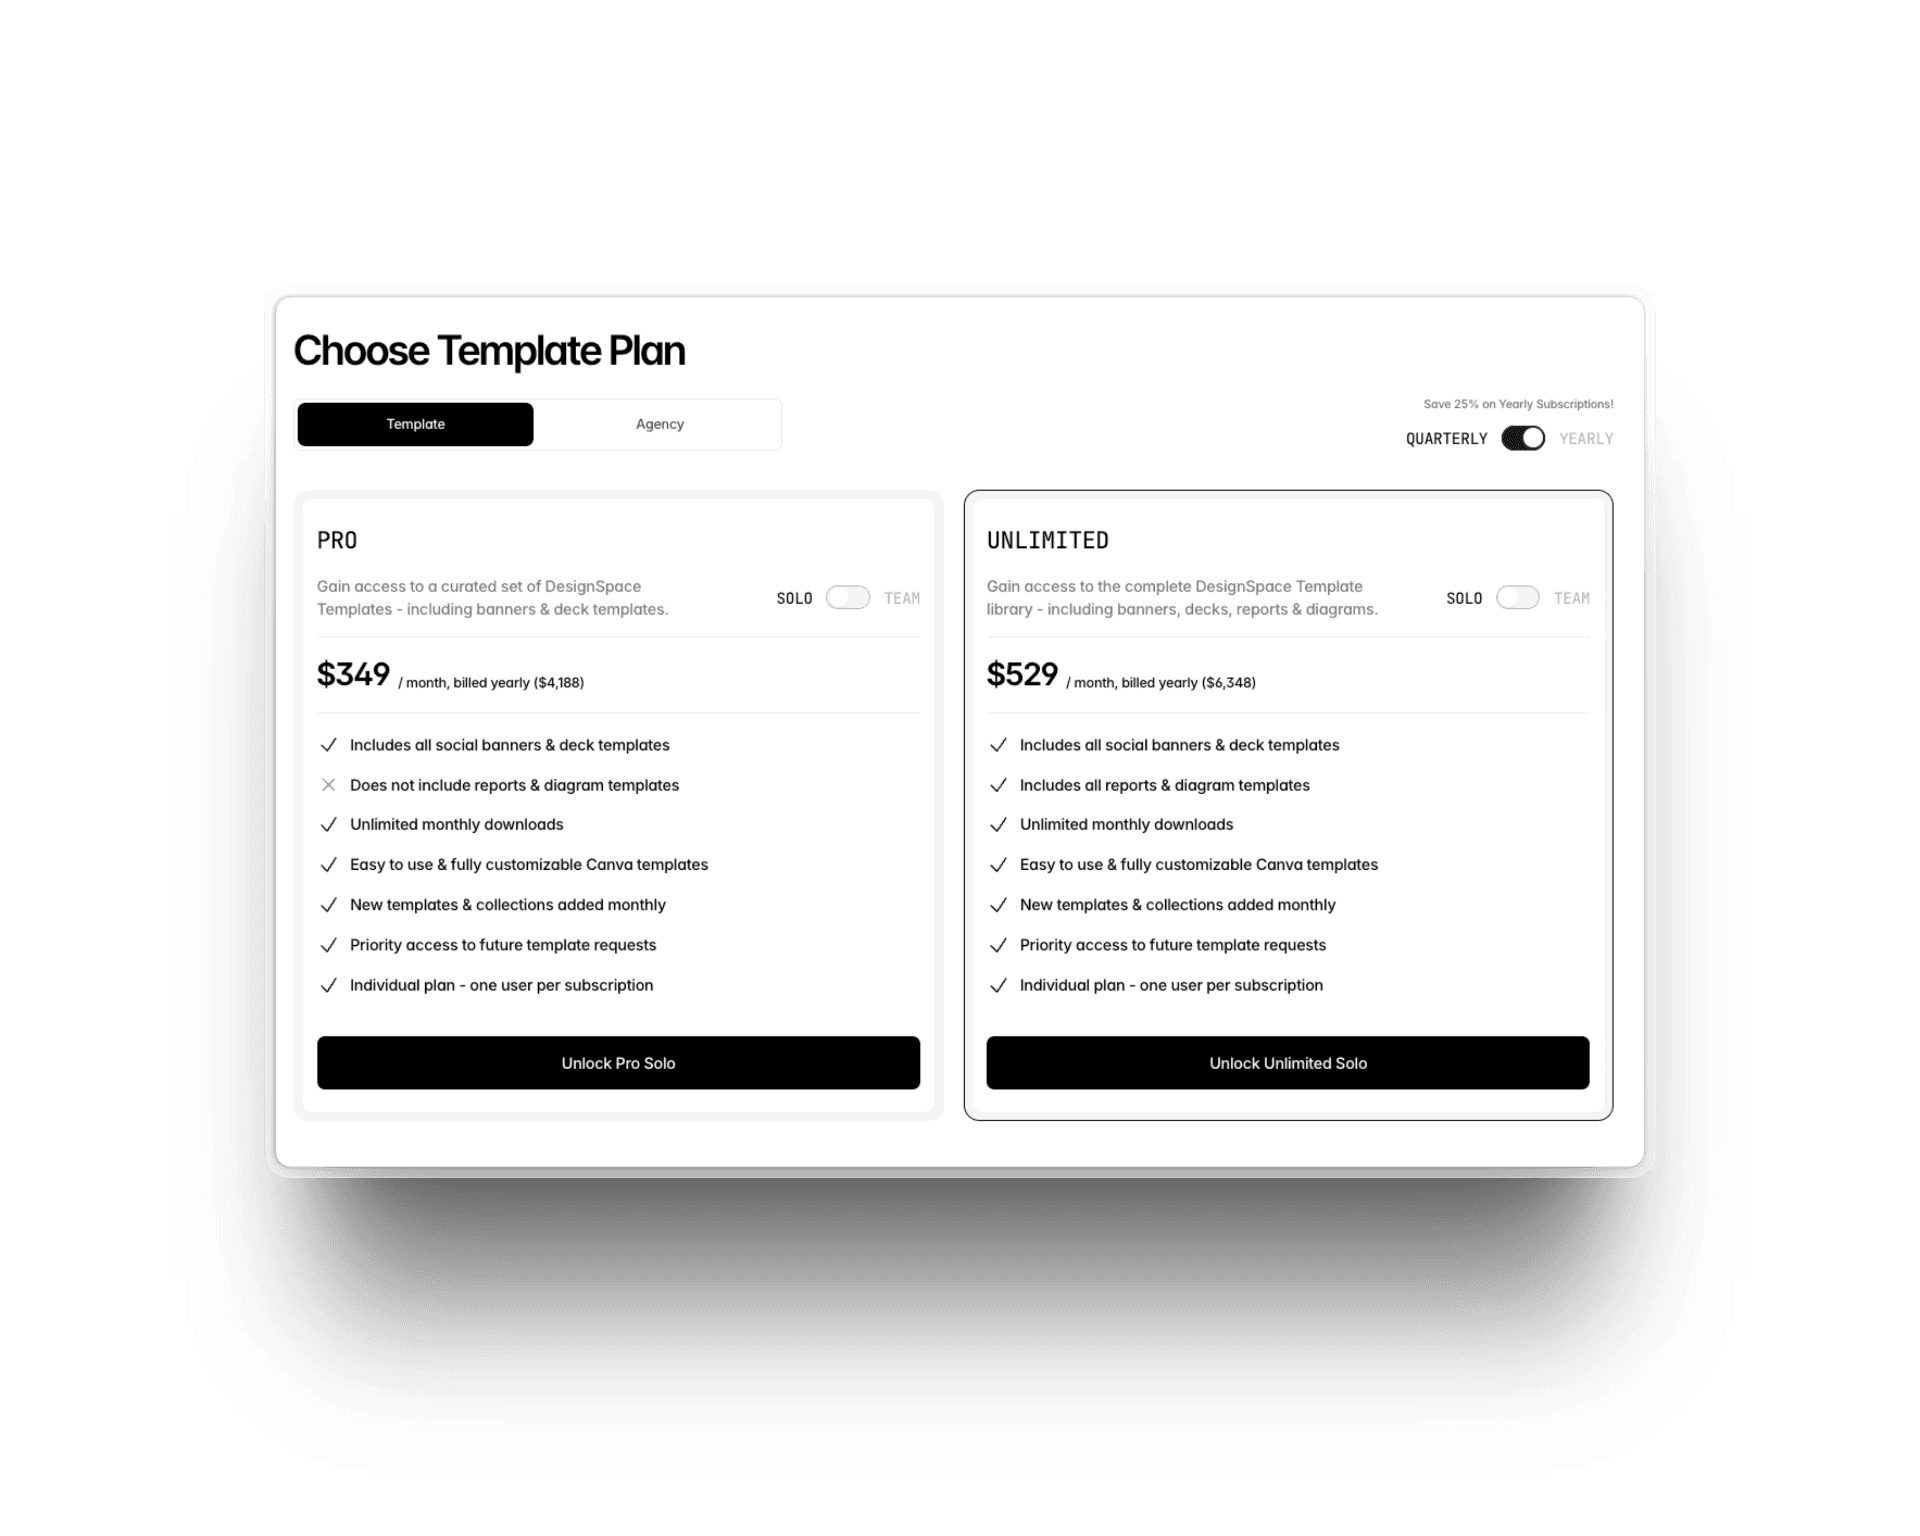
Free vs. Pro vs. Unlimited — What’s the Difference?
Every template shows its plan level, so you always know what’s included.
Free
A rotating set of starter templates you can use immediately — no subscription needed. A great way to learn the DesignSpace workflow.
You can access Free plans directly via each individual template, by selecting the "Sign Up to Access Template" button.
Pro
Perfect for marketers who need polished decks, campaigns, and social banners — but not long-form documents.
You get:
All social banners
All slide & deck templates
Unlimited monthly downloads
Access to all new Pro templates added each month
Priority access to future template requests
Not included: Reports & diagrams, including; whitepapers, ebooks, and other document-style templates.
💡 Pro Tip:
If your work is mostly campaigns, slides, and social — the Pro plan should cover everything you need.
Unlimited
The complete DesignSpace experience — every asset type, across every collection. Full access to our entire library.
You get everything in Pro plus:
All report templates
All diagram templates
All long-form, data-heavy, and document-style assets
Ideal for teams producing content across the entire marketing funnel — awareness → demand gen → sales enablement.
💡 Pro Tip:
If you need report assets, such as whitepapers, ebooks, diagrams, or product visuals - the Unlimited plan would be your best fit.
You can upgrade to the Pro + Unlimited plans by visiting our Pricing page.
Step 3
Choosing a Template
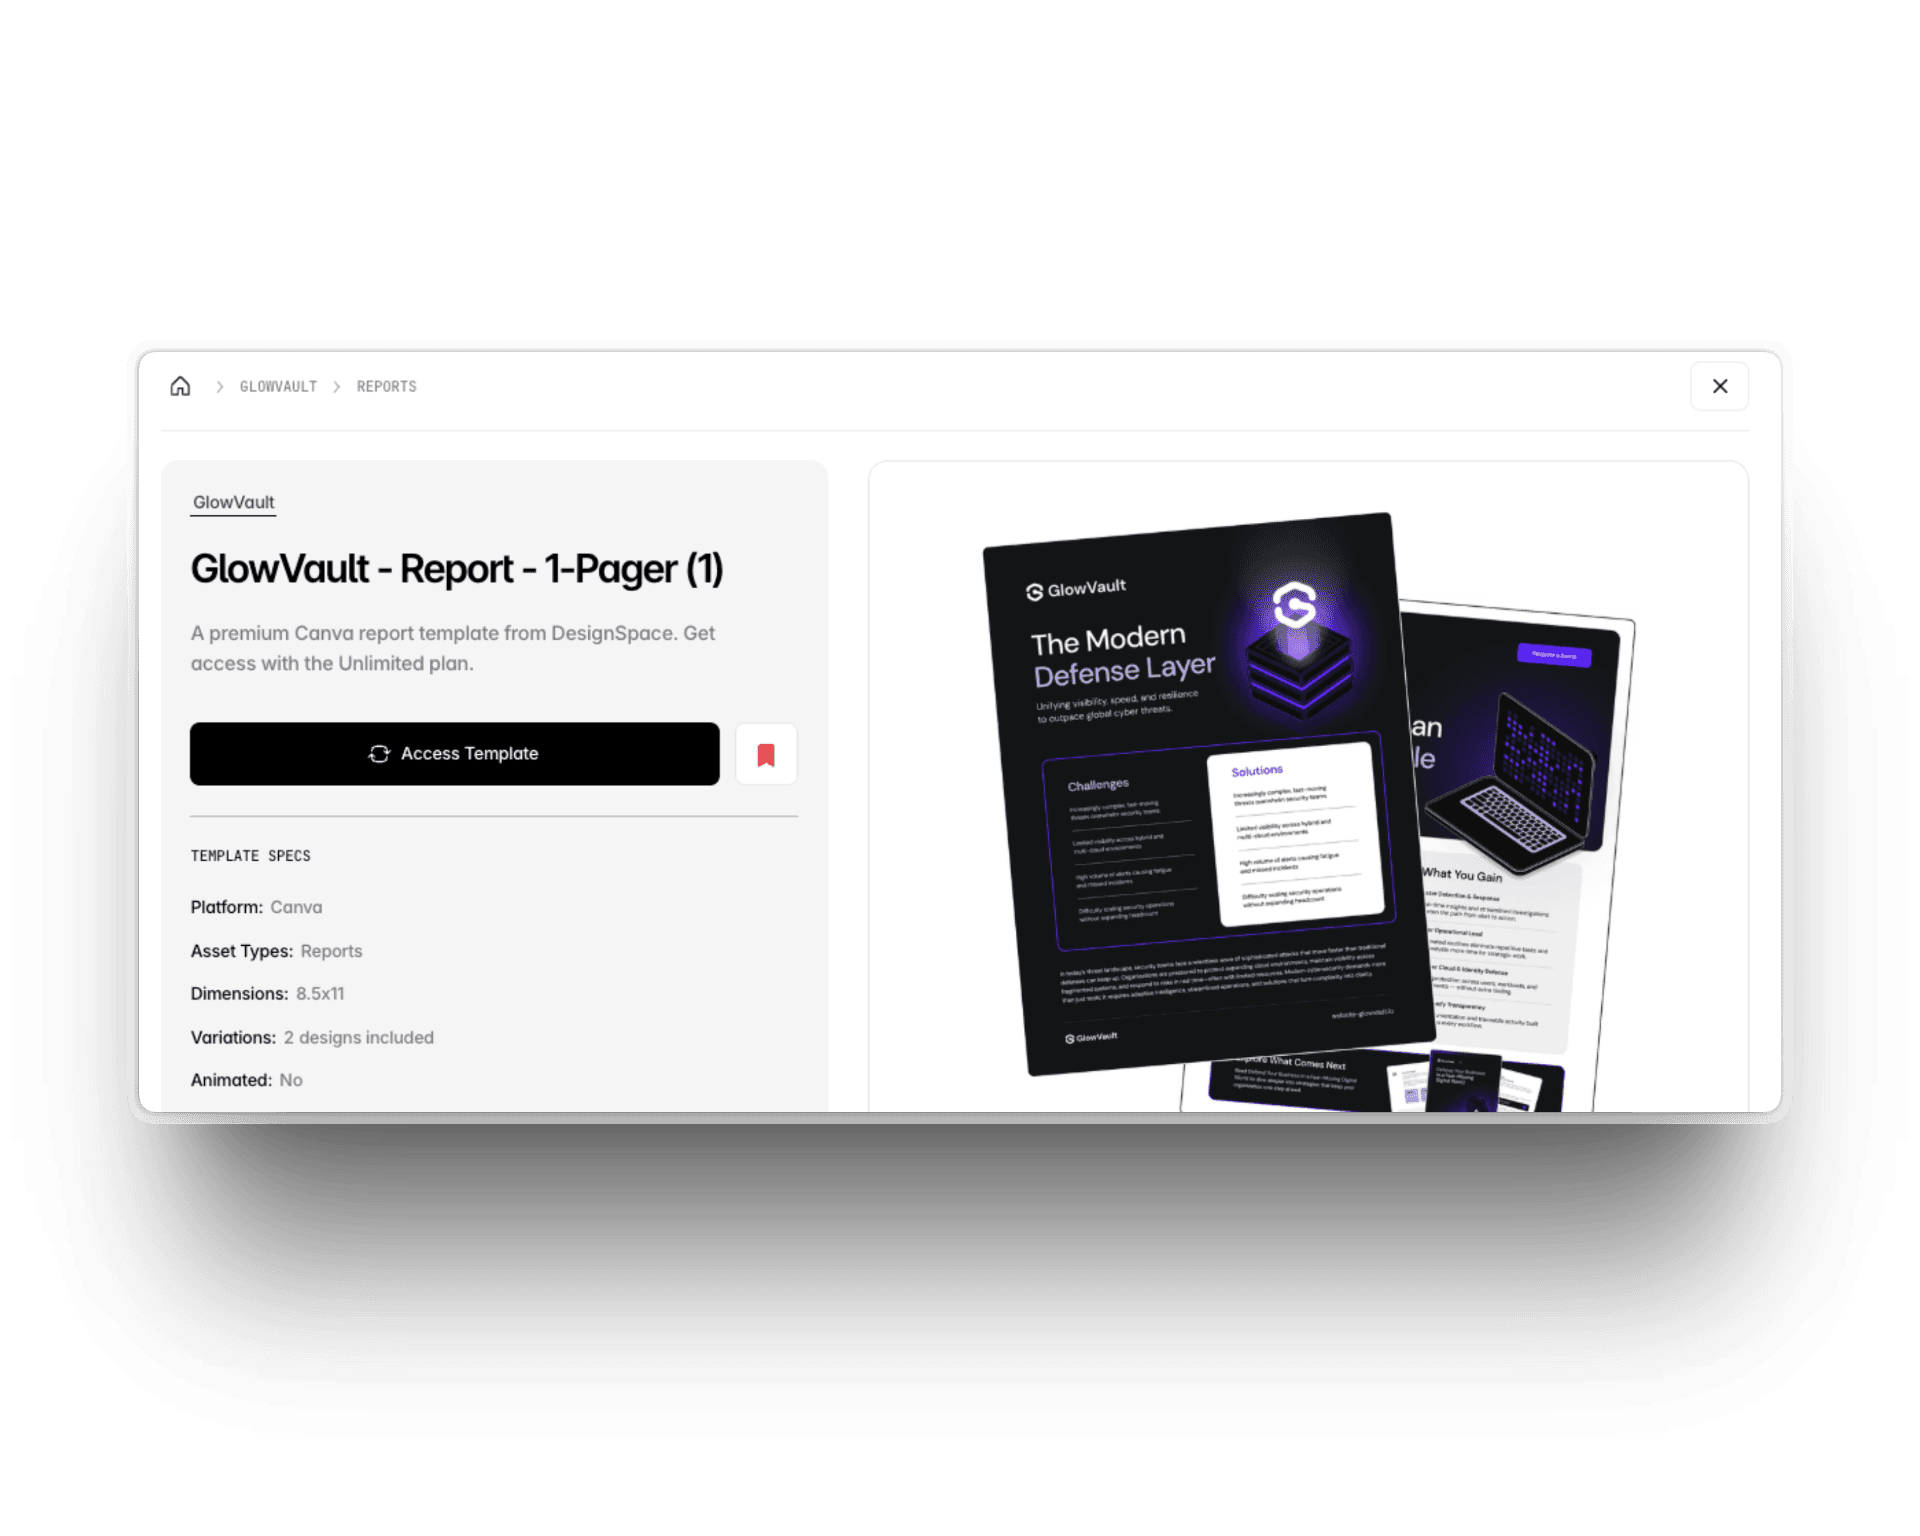
Template Details at a Glance
Each template page includes:
Thumbnail previews of the template designs
Template specs (design platform, asset type, number of designs/pages, dimensions, animations, etc.)
Link to explore similar collection styles + assets
Access level, based on plans subscription
💡 Pro Tip:
Thumbnails include multiple layout variations — great to get an inside peak to all the design variations in the template.
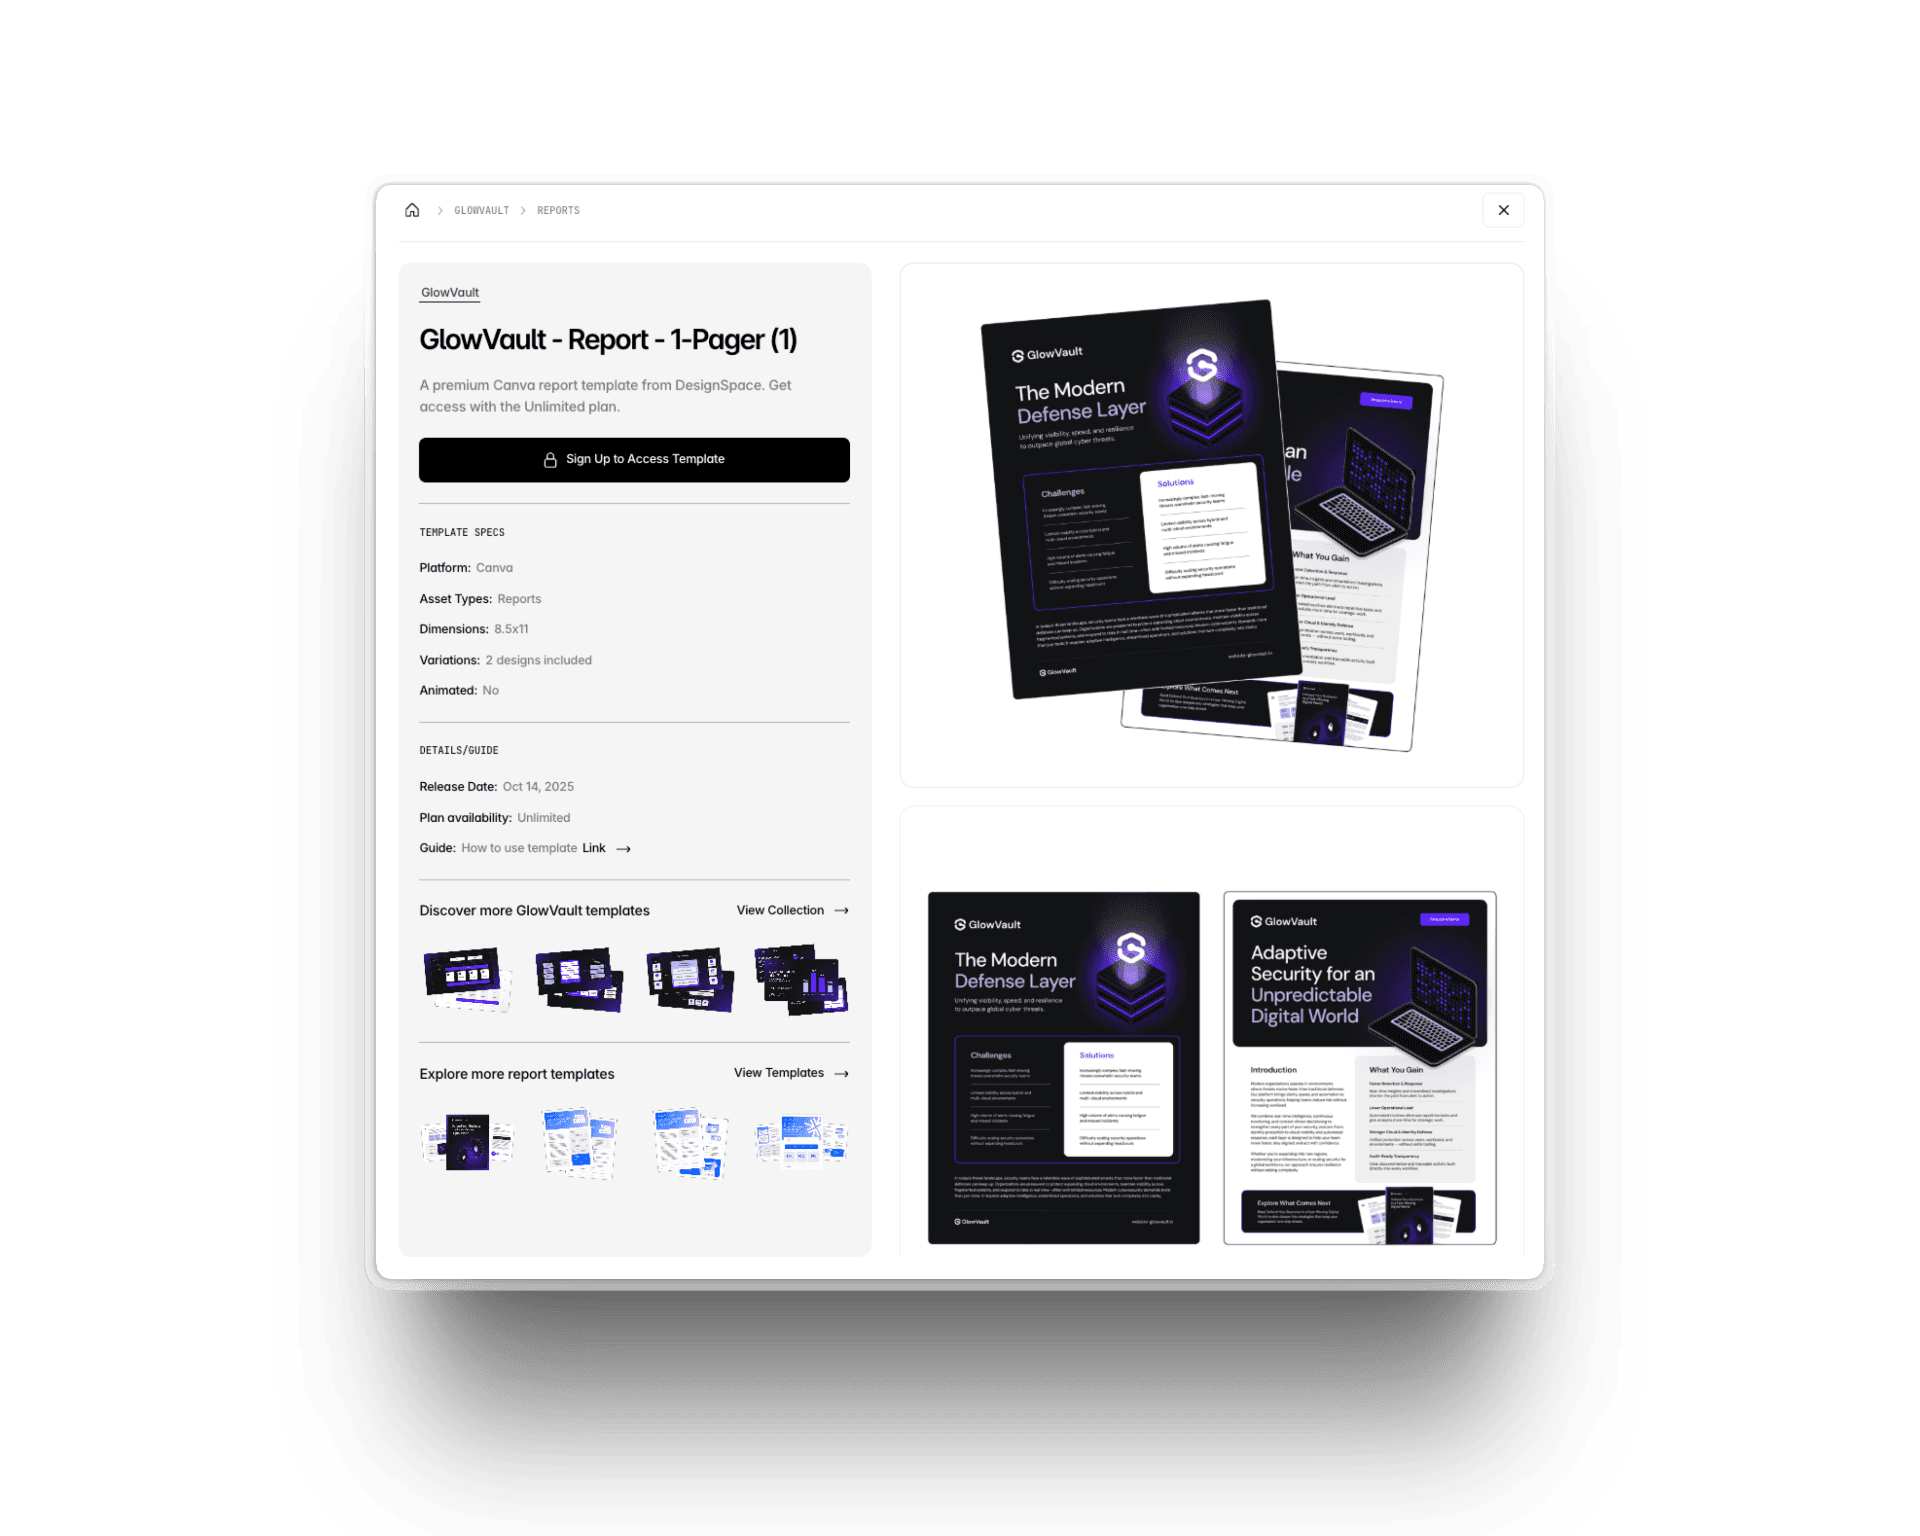
Unlocking a Template
Log in or sign up to unlock access to templates.
Select specific template & click "Access Template" button to launch template remix link.
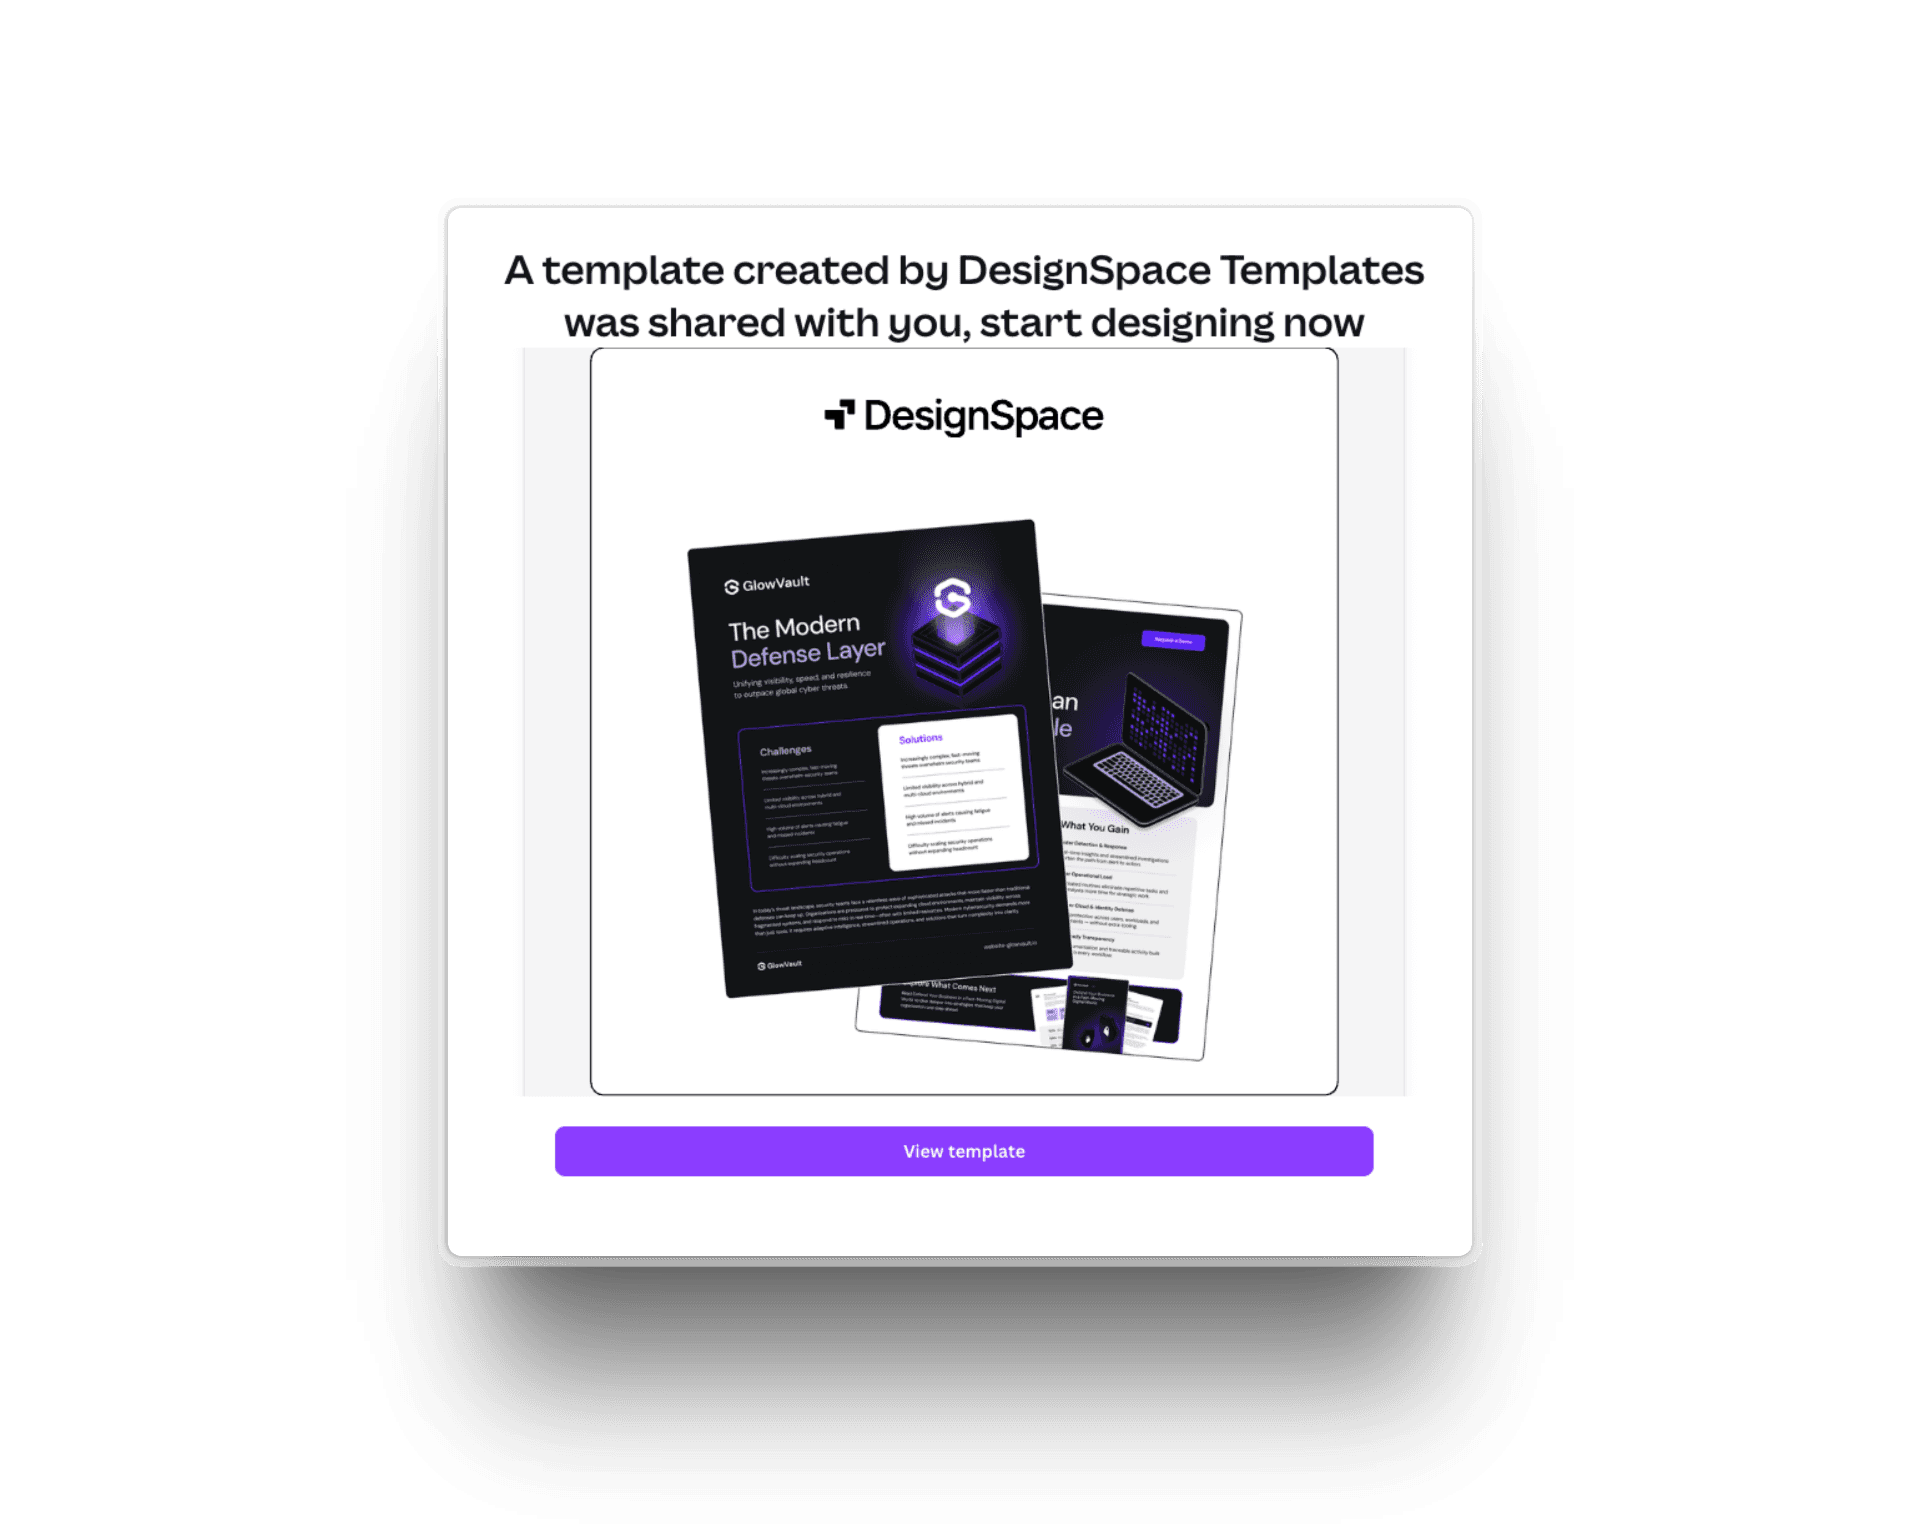
For Canva templates, a remix link landing page will load - follow instructions to add the template to your account.
Step 4
Editing Your Templates in Canva
Using Canva Remix Links
You’ll need a Canva account (free or Pro) to save it to your workspace.
Customize with Your Brand
Once open, everything is editable:
Colors • Fonts • Logos • Images • Icons • Layouts • Diagrams • Text

💡 Pro Tip:
If you use Canva’s Brand Kit, try Apply Styles to instantly update colors and fonts across the entire file. Or for a more customized result, edit each element manually.
💡 Pro Tip:
Duplicate pages before making major edits so you can compare versions and revert anytime.
Step 5
New File Types — Coming Soon
All templates today are built for Canva — so you can edit instantly without learning new software. But we know cyber teams use different tools. We’re actively developing Google Slides and Figma versions — coming soon.
💡 Pro Tip:
Want early access? Join our email list by subscribing to the Free plan, or check the Newest filter in the library.
Step 6
Tips, Best Practices & Extra Resources
Mix & Match Elements
All templates are built to work together — even across collections.
Feel free to combine layouts, icons, headers, diagrams, or sections from different files.
💡 Pro Tip:
Keep a “working file” in Canva where you store your frequently used elements.
Use Canva’s Brand Kit
Every template works seamlessly with Canva’s Brand Kit for fast, consistent customization.
💡 Pro Tip:
If you manage multiple products or sub-brands, set up multiple brand kits to switch between them instantly.
Duplicate Before You Edit
Duplicating pages or full files gives you space to experiment without losing the original design.
💡 Pro Tip:
Keep the untouched version at the top of the file for quick reference.
Need Help?
You can reach us anytime through the Contact Form — we’re quick to reply and happy to help.
Want a Template We Don’t Have Yet?
Submit a request through the Template Request Form.
We review every request and add the most relevant ones to the library.
💡 Pro Tip:
Adding a screenshot or example helps us match your vision faster.
That’s everything you need to get started.
Now it’s your turn to explore, customize, and build the assets your team needs — faster and with more confidence than ever.
Happy cyber creating 🎉